Throughout 2023, a roster of Kobold Press superstars are working together to create a full dungeon for the Dungeon23 project. Each installment contains a few areas that will stack up to a full delve! Catch up on previous articles here.
Dungeon Prompts
Seven words were created to help inspire this set of dungeon rooms:
- Feeble
- Enchanted
- Null
- Penitent
- Quaint
- Wrong
- Sable
The author can use any or all of them. See if you can spot where and how these ideas get used!
The Dungeon Map
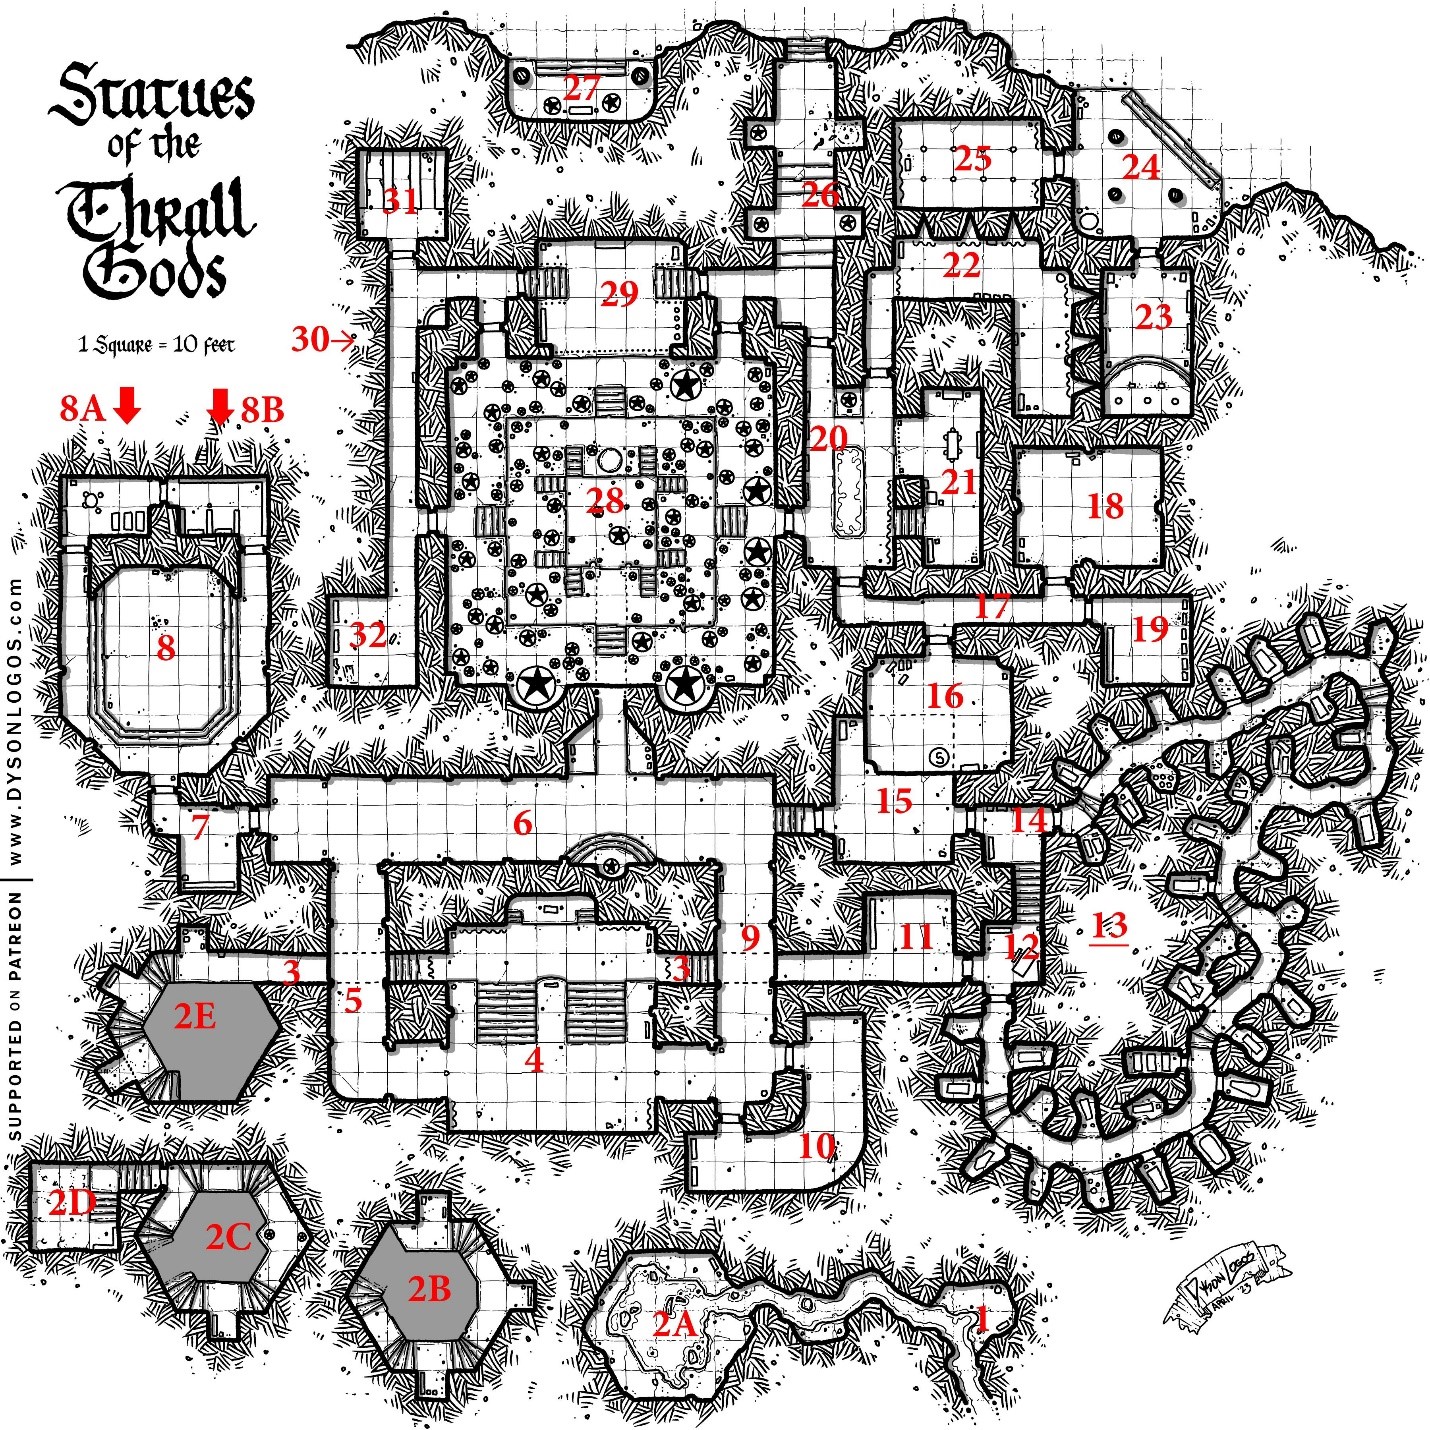
The final dungeon level uses Dyson Logos’ map, The Statues of the Thrall Gods. (This link provides an unkeyed version of the map.)
This installment of the dungeon covers Areas 5–10.
Area 5: The Walls Have Eyes
| This shadowy tunnel leads toward a well-lit area ahead. There are no torch sconces or fire pits in the hallway, only darkness. The stone walls of this hallway have bits of broken glass embedded in them. |
Any PC holding a light source in his area immediately notices the light flickering across all the bits of glass in the walls. Yskarakta’s minions use the glass here as peepholes for surveillance.
If a PC keeps their light source active for more than 1 minute, a minion begins magically viewing through the glass shards. If this happens, the next enemies that the PCs encounter have advantage on their first attack or ability check against the invaders. Characters with a passive Perception of 16 or greater notice eyes within some shards.
Characters with magical talents can inspect the broken glass before entering the hallway. A DC 16 Intelligence (Investigation) check reveals that if there isn’t a light source, the magical scrying can’t activate. Anything covering the glass also prevents viewing.
| Designer Insights: Home Ground When using villains, always think about how they can use their lairs to get an edge on their adversaries. This teaches players to think defensively when they know they’re invading. |
Area 6: The Crossroads
| This large hallway is lined with multiple iron torches, their light splashing throughout the area. To the west is a curtain of flickering purple colors. To the north is a small alcove with two raised platforms, each with a square mirror embedded in the stone wall. To the east, stairs lead up, and two dark hallways lead south. In the center of this chamber, on the southern wall, stone steps lead up to a large standing mirror. |
The mirrors in this area are used to discover information on Yskarakta’s visiting guests. Each mirror in the area magically reflects to the viewer what they desire most in life. Typically, a creature’s reflection depicts them having changed or holding an item that signifies their desire.
A PC who observes their reflection in one of these mirrors must make a DC 15 Charisma saving throw. On a failure, the PC succumbs to vanity and has disadvantage on one saving throw or ability check of the GM’s choosing within the next day.
Area 7: Inner Fears
| Passing through the flickering purple curtain reveals a small chamber with a wall-sized mirror on the southern wall and a slight curve to the north that ends at an iron door. |
This room’s wall-sized mirror is like the ones in Area 6 but this mirror reflects fears instead of desires. Yskarakta uses this mirror to root out any followers who are fearful of its goals.
The mirror’s reflection is first surrounded by a mist, but the subject’s outline can be seen. A PC who observes their reflection must make a DC 16 Intelligence saving throw. On a success, the PC gains 1d8 + 1 temporary hit points and has advantage on saving throws against fear for the next hour. On a failure, the PC faces the horror of their darkest fears. The PC is frightened of all creatures for 1 minute, and can make a save to end the effect at the end of their turn.
| Designer Insights: Mirror, Mirror The mirror in this room is inconvenient for PCs who fail the saving throw, but it helps tell the story. It also provides some symmetry to the previous area, and it adds to the weirdness of the hell of Sooledeed. |
Area 8: Meditating on Inner Devils
| This large chamber has a domed ceiling with a lit iron chandelier hanging from its center. The walls are continually covered in mirrors. Stone steps in the center lead to a stone platform with large chunks of broken glass. Two iron doors are on opposite ends of the north wall. |

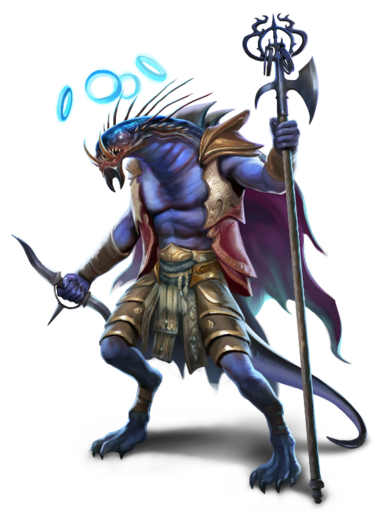
Yskarakta meditates here to find inner weaknesses to convert into strengths. The golems made by this chamber typically aid satarre but immediately attack the intruder PCs.
After the PCs enter the chamber, all entrances close and three lesser glass golems (see Creature Codex) emerge from the mirrored walls.
The large, shattered mirror chunks on the platform also begin stacking themselves to form a barbed devil named Zadreel. The devil has mutated due to his prolonged stay in Sooleleed, making him like the lesser glass golems. Zadreel has vulnerability to bludgeoning damage but can make a Shatter attack as a reaction like the lesser glass golems.
When Zadreel is defeated, his body crumbles into tiny pieces of glass and a glowing dark iron key. If the PCs bring the key into Area 8A, 1 minute later all creatures in that area are teleported to Area 13. If they bring the key into Area 8B, 1 minute later all creatures in that area are teleported to Area 27. This is also one of the keys that provides access to Yskarakta’s court in Area 28.
Both Areas 8A and 8B are filled with medication mats and simple sleeping beds. In Area 8A, the PCs find a stone table with four chairs made of dark iron. In Area 8B, a round, steel-framed hand mirror hangs from the wall. This is a spellbinding trick shot mirror (see Vault of Magic) that was used in rituals in this chamber.
Area 9: Blind Eyes
| The southern end of this unlit hallway has two dark iron doors. The stone walls have bits of broken glass embedded in them. |
While this hallway resembles the one in Area 5, the broken glass embedded in the wall here is inert. No one is waiting to scry on the PCs here.
Area 10: Hall of Fire
| The stone walls of this curved room have been bolted with iron. In the south wing, two large sheets of dark metal have been sculpted in the likeness of reptilian humanoids wearing robes with their arms crossed. |
This chamber is used to dispose of traitors, prisoners, and minions who failed Yskarakta. If creatures enter the room and aren’t accompanied by a satarre or a fiend, they hear a high-pitched whine and a whooshing sound as the incinerators power up.
A creature that remains in Area 10 after 1 round of this warning is subjected to gouts of flame from the iron sculptures’ mouths. The fire somehow bends around the corner to affect anyone in the north wing as well.
All creatures in area must make a DC 16 Dexterity saving throw taking 8d6 fire damage on a failed save or half as much damage on a successful save. The fire stops after one round. Anyone who lingers longer than 5 minutes finds that the incinerators recharge and fire again.
Delving Deeper
In two weeks, we wander further into Sooledeed and meet more of Yskarakta’s servants.
If you’re looking for a notebook to jot down your Dungeon 23 ideas, check out the Kobold Press TeePublic page!

Love it thank you very much for this!
I’m glad you’ve been enjoying these!