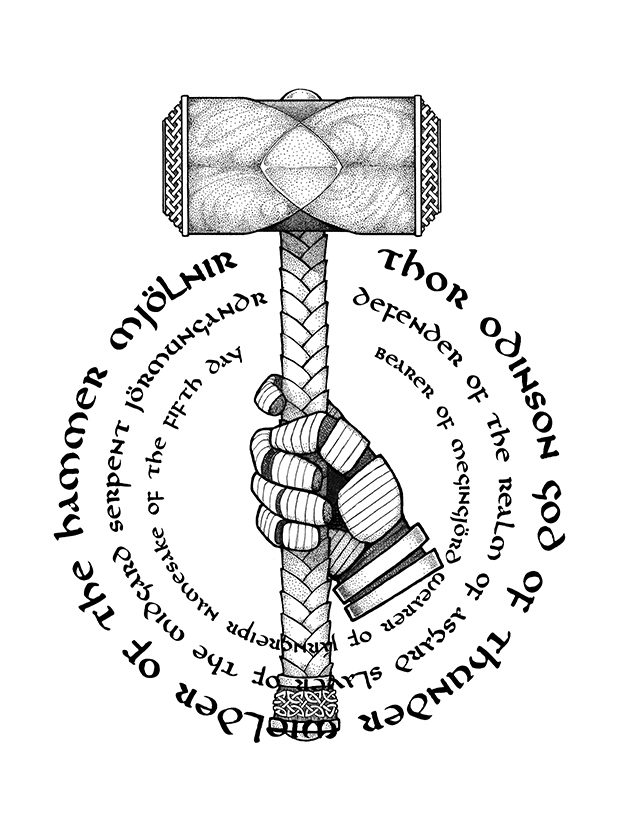
 Mjolnir. The name conjures images of godly strife, powerful storms, and supernatural battles.
This is something my brother, David, and I had wanted to do for a long time. Some of you followed or backed our Kickstarter. Thank you! For those that didn’t, this is how I made Mjolnir.
The Process
For this project, David did all the graphic art, which helped guide me in the metalwork. We wanted the project to make backers feel like they were in David’s studio and in my shop for the creative process and to help them feel involved.
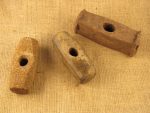
A Weapon for a God
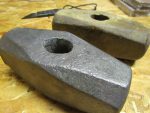
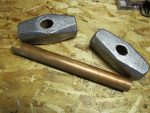
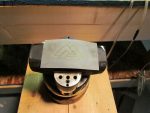
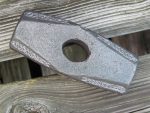
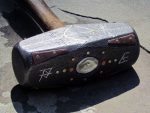
Mjolnir needed to feel old—an ancient and powerful artifact. To this end, I found three antique sledgehammer heads at local antique and salvage yards (there was no backer for the third head, so it will be used later).
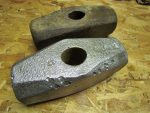
Annealing and Cleaning
Sledgehammer heads are usually hardened by heat treatment. Even if they weren’t, they would have work hardened with use. So the first step was to anneal them so the steel was soft enough to work with. For more on hardening, heat treatment, and annealing, check out this older Real Steel. After annealing, I wire brushed and cleaned the heads with a variety of caustic agents. I tried ferric chloride, vinegar, and phosphoric acid, but hydrochloric acid ended up being the best choice.
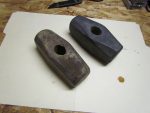
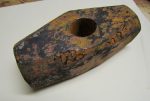
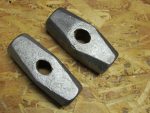
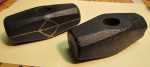
Cold Bluing
Next I blackened them using a cold bluing solution of phosphoric and selenium acid. The goal was to leave as much of the old surface character as possible and impart a dark color lending to the ancient feel.
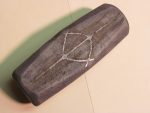
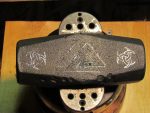
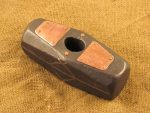
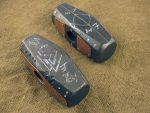
Etching, Engraving (Not), Carving, Pin Inlay, Overlay
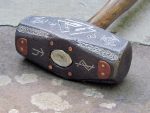
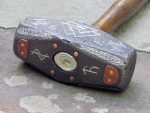
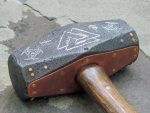
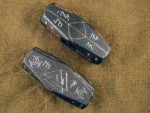
My intention was to do some etching on both hammers, but one resisted the etchant. Both proved difficult to engrave. Hand engraving is a process that uses micro-chisels powered by a small pneumatic hand piece, and the uneven surface, while desirable in itself, made engraving evenly impossible. Instead, I used a high speed rotary tool (similar to what a dentist uses) to carve the steel in the same patterns I originally intended to engrave. Every place on the hammer heads where you see bright steel was carved in this manner. The designs include Norse symbols, designs, and bindrunes.
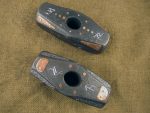
There are copper, brass, and nickel silver pins inlaid in both heads. To do this I drilled holes and flared the bottom of the holes using a tiny carbide bit in the rotary tool. The pins are driven into the holes and flare out at the bottom, preventing them from falling out. Brass becomes very brittle when work hardened, and several pins cracked while being driven in. To remove them I had to drill them out; the flare at the bottom resists all efforts to pull them out.
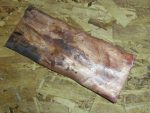
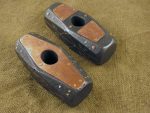
The copper overlay is done by annealing the copper sheet (salvaged from old household pipes), imparting some texture with a ball-peen hammer, and cutting and grinding it to the right shape. Once they fit where they needed to go, they were secured using pins. These pins where installed the same way as previously described, but were also heavily peened to hold the copper in place.
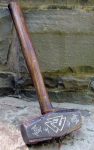
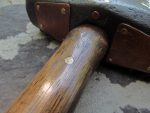
Handles
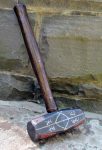
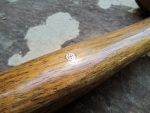
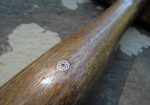
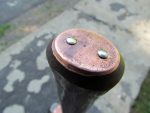
I made black walnut handles, but in the end I didn’t care for them. What you see is hickory with ebony stain and a buffed tung oil finish. There are two mosaic pins inlaid in each handle. At the end of each there is a copper cap held in place with brass nails. At the top of each handle is a poured pewter cap.
Looking Back, and the Third Hammer.
This was a challenging project. There are more techniques packed into these pieces individually than I have ever used on any single piece.
I’m looking forward to making the third hammer. I intend to use deep carving techniques and I believe this hammer will allow me to do some engraving.
Interested in Using Mjolnir in Your Game?
After the Kickstarter got rolling, Jim Pinto offered to write six pages of gaming info on Mjolnir as a reward. Eighteen pages later and he was done. You can get a copy at DriveThruRPG. It’s a nice mix of gaming information and educational reading. I like it.


Looks awesome, Todd! Thanks for enlightening us with the process.
Thanks! And you’re welcome!
Coolness,
How long is the handle?
@Darkjoy, both of the (exposed) handles ended up at about 13″. The myth says that due to Loki’s interference Mjolnir’s handle was “shorter than planned”, but doesn’t give a dimension. I went with about half what would be normal for a head this size.
Ah, learned something new then (Loki reference).
Anyway, wouldn’t want to be on the receiving end of it :-)
Check out the “Norse Mythology” section:
http://en.wikipedia.org/wiki/Mj%C3%B6lnir