Throughout 2023, a roster of Kobold Press superstars are working together to create a full dungeon for the Dungeon23 project. Each installment contains a few areas that will stack up to a full delve! Catch up on previous articles here.
Dungeon Prompts
Seven words were created to help inspire this set of dungeon rooms:
- Far-flung
- Meek
- Soggy
- Parsimonious
- Glamoured
- Sticky
- Quarrelsome
The author can use any or all of them. See if you can spot where and how these ideas get used!
The Dungeon Map
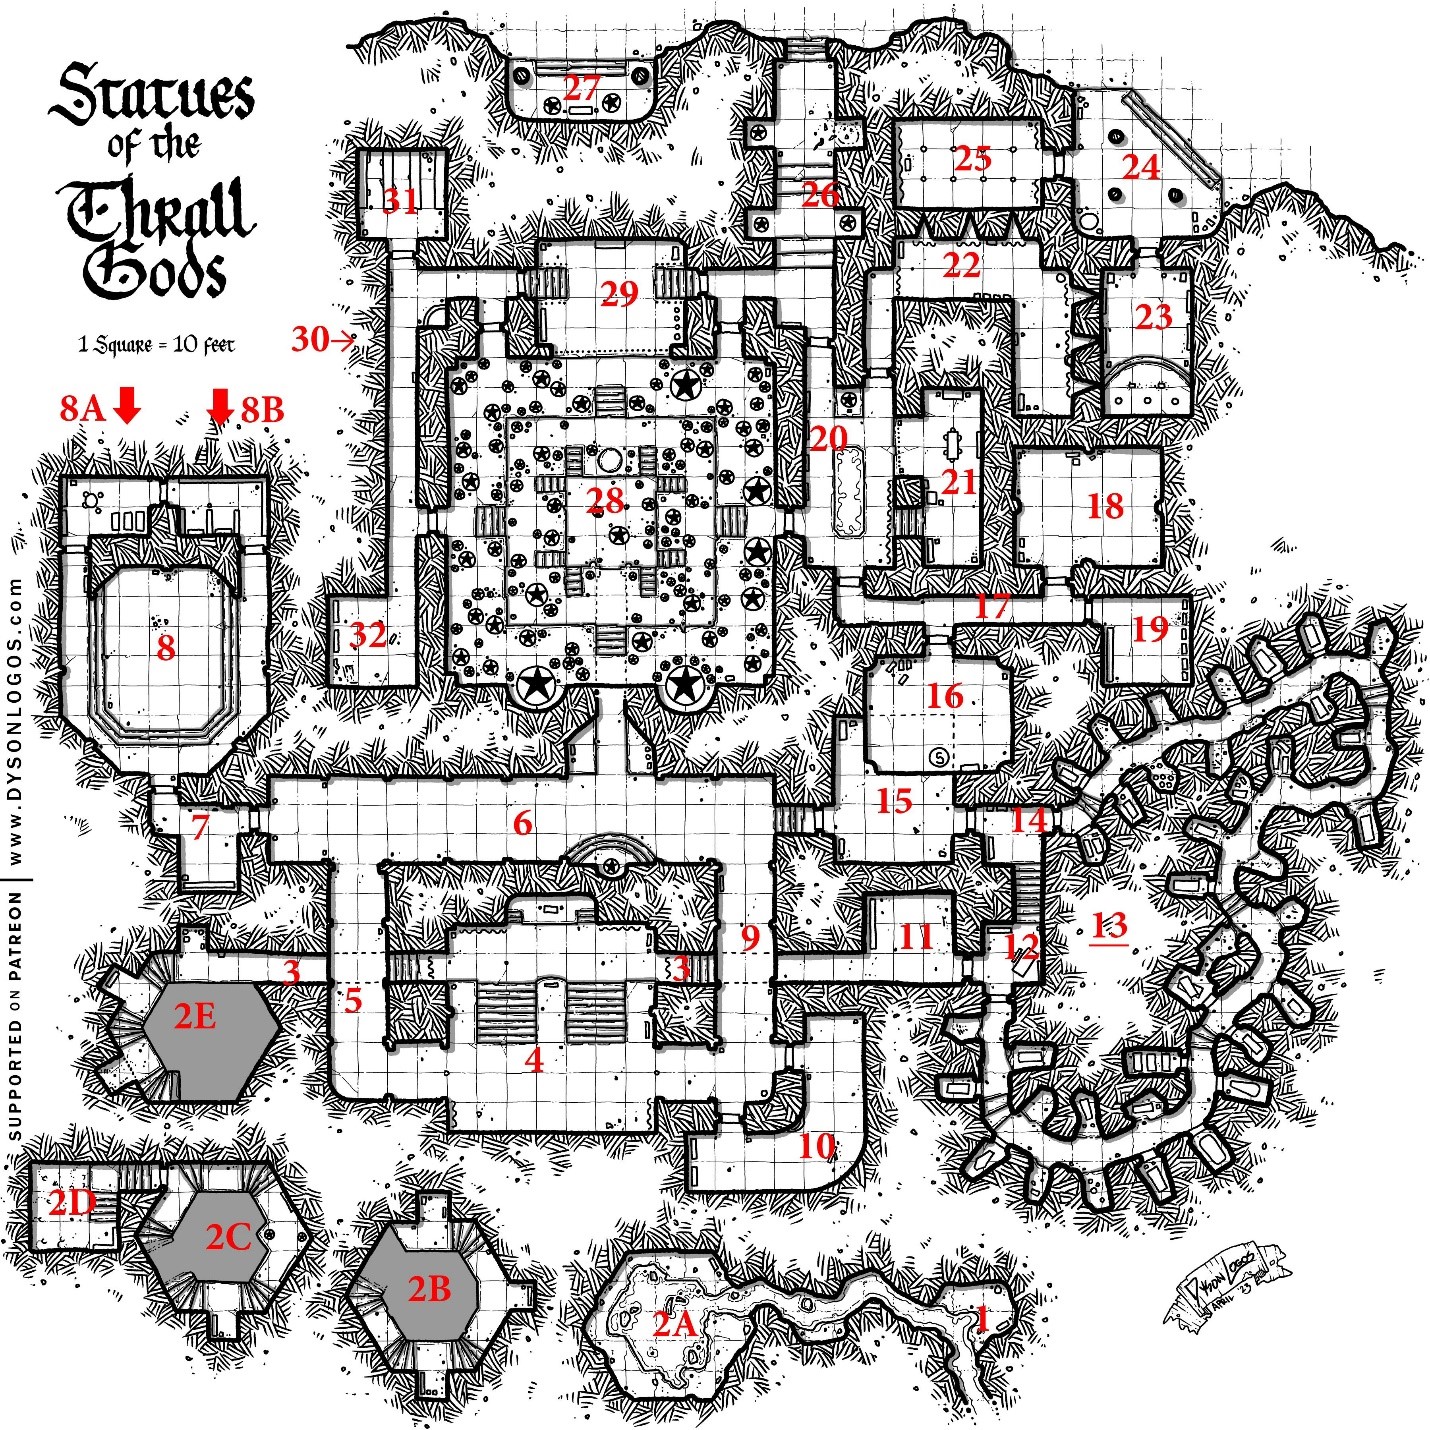
The final dungeon level uses Dyson Logos’ map, The Statues of the Thrall Gods. (This link provides an unkeyed version of the map.)
This installment of the dungeon covers Areas 1–4.
Area 1: Welcome Party
| Strong perfume greets your nostrils when you appear in this small cave. A river of glass grains flows north to south past this area. Anyone who peers in sees a distorted reflection. |
This landing serves as the staging ground for terrible creatures traveling to the Material Plane. The smashed glass comes from the infinite mirrors that break in Soledeed. The river cascades over a deadly, shrieking waterfall about 100 yards to the south, which a PC can hear with a successful DC 10 Wisdom (Perception) check.
Traversing the glass is painful for PCs without footwear or who fall in completely. For every 10 feet a barefoot or swimming character moves through the river, they must make a DC 14 Dexterity saving throw, taking 9 (2d8) slashing damage on a failed save, or half as much damage on a successful one.
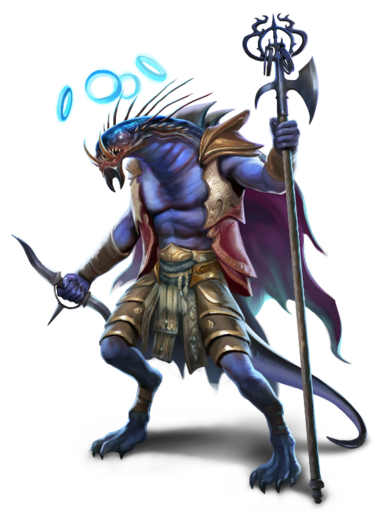
As misfortune would have it, the PCs arrive just as a coven of three mirror hags (see Tome of Beasts 1) prepares for a mayhem-filled visit to an unsuspecting village. The hags cast disguise self to conceal their true images but unmask as soon as possible to confound their foes.
The hags attempt to disfigure as many foes as possible as they maneuver to the portal. If necessary, they try to shove unarmored creatures into the glass river. If the PCs block their way out and one of the hags dies, the other two retreat into the fortress, using disguise self to hide among its denizens.
One of the hags carries a dancing floret (see Vault of Magic), which they intended to use in their schemes. At the GM’s discretion, the hags may use the floret in combat.
| Designer Insights: Setting Expectations While we’ve kept combats at a modest level throughout this series, sometimes the party needs to jump right into a fight. This lets the players know this area is busy and inhabited by many different creatures. |
Area 2: The Mirror Maze
| A pond of tiny glass fragments fills the center of this hexagonal room. A mirror stands against the western wall, opposite the only entrance to the east. |
Yskarakta designed this section of the fortress to confuse intruders, forcing them to leave or containing them so Yskarakta can send troops to deal with them.
Moving through the glass here carries the same penalty as traversing the glass river in Area 1. The pond is 10 feet deep and constantly replenishes itself with broken glass from throughout the fortress, thwarting any attempt to excavate it.
The mirrors here are portals, teleporting people and items that pass through them to another mirror. Though each mirror in this area reflects the room’s image, a PC who succeeds on a DC 12 Intelligence (Investigation) check or just reaches through the mirror realizes this is an illusion.
The mirror in 2A leads to the southern alcove in 2B.
In 2B, the northern alcove’s mirror leads to the southern alcove in 2C, while the other mirrors return to 2A.
In 2C, the mirror returns to 2A.
2D has a mirror on its western wall that leads to the southeastern alcove in 2E. All mirrors in 2E return to 2A.
Further complicating movement through this area, a series of nigh-invisible portals—requiring a successful DC 18 Wisdom (Perception) check to notice—bisect sections 2B, 2C, and 2E from west to east. When a creature passes through the portal without performing the proper bypass, it ends up in a mirrored version of the room. Observers see the creature until it fully crosses the threshold, at which point it disappears. While in the mirrored reality, all mirrors in the alcoves return a creature to 2A.
The PCs can bypass the bisecting portal by performing different actions, discoverable with a successful DC 18 Intelligence (Arcana) check.
- 2B requires creatures to walk backward through the portal.
- 2C requires 5 points of force damage dealt to the portal (which restores itself after 1 hour).
- 2E requires the PC to hold something etched with a word written in reverse.
The north alcove in 2E has an iron doorknob polished to a mirror-like sheen attached to the wall. The knob doesn’t operate a door here but is a key elsewhere in the fortress. A casual search of the area reveals it. The doorknob catches any PC’s eye with a successful DC 13 Wisdom (Perception) check.
| Designer Insights: Rewarding Clever Solutions The methods described to navigate the mirror maze are meant to work as is, but they aren’t intended to block other options. If the players devise a plan to get past one of the mirrors, consider allowing it to work, even if it’s just once. |
Area 3: Short Hallway
| This hallway leads to a flight of stairs that ends at a shimmering curtain. From above the center part of the hallway, muffled sounds of dragging and footsteps emanate. |
This bedazzled curtain terminating this ordinary hallway muffles sounds and glints with distracting light to hide troops staging in Area 4. Provided the PCs haven’t made a considerable amount of noise infiltrating the fortress, no guards are on alert.
| Designer Insights: Respite After a combat and a puzzle, the PCs deserve a break. This modest hallway provides it, but suspicious characters and players will of course be wary of the curtain concealing the next area. |
Area 4: Reception Hall
| A balcony traverses the northern part of this chamber, flanked on the west and east by shimmering curtains. Stairs descend to the north to a secluded alcove and to the south to the main chamber. |
Yskarakta or his lieutenants greet visitors to his fortress here, from which visitors receive an escort to an appropriate meeting place. A variety of mirrors adorn this chamber, subtly changing a reflected creature’s appearance to enhance their beauty, fearsomeness, or trustworthiness. A creature standing in front of a mirror has advantage on Charisma (Deception, Intimidation, or Persuasion) checks depending on the reflected mien.
If they did not destroy mirrors in Areas 1 or 2, the PCs face no foes in this area. If they did, a patrol of five satarre destroyers and one satarre mystic (see Tome of Beasts 2) awaits them.
| Designer Insights: Contingent Combat As mentioned above, we try to limit combats in these adventures. However, if the PCs belligerently bring attention to their arrival (breaking mirrors, using damaging area of effect spells beyond Area 1, etc.), they incur a commensurate response. |
Delving Deeper
In two weeks, the PCs get to meet (and fight) more of Yskarakta’s minions as they delve further into his fortress.
If you’re looking for a notebook to jot down your Dungeon 23 ideas, check out the Kobold Press TeePublic page!

Love this series, lots of great writing!