Throughout 2023, a roster of Kobold Press superstars are working together to create a dungeon for the Dungeon23 project. Each installment contains a few areas that will stack up to a full adventure! Catch up on previous articles here.
Dungeon 23 Community Highlight
Logen Nein has been chronicling their project on the Dungeon23 subreddit. You can also find Logen’s work, including maps and other RPG products, on their Itch page.
Dungeon Prompts
I’ve been given the seven words to help inspire dungeon design:
- Zealous
- Ruddy
- Muddled
- Obeisant
- Absent
- Edible
- Languid
I don’t need to use any or all of them, but they are cues to consider using when searching for inspiration.
The Dungeon Map
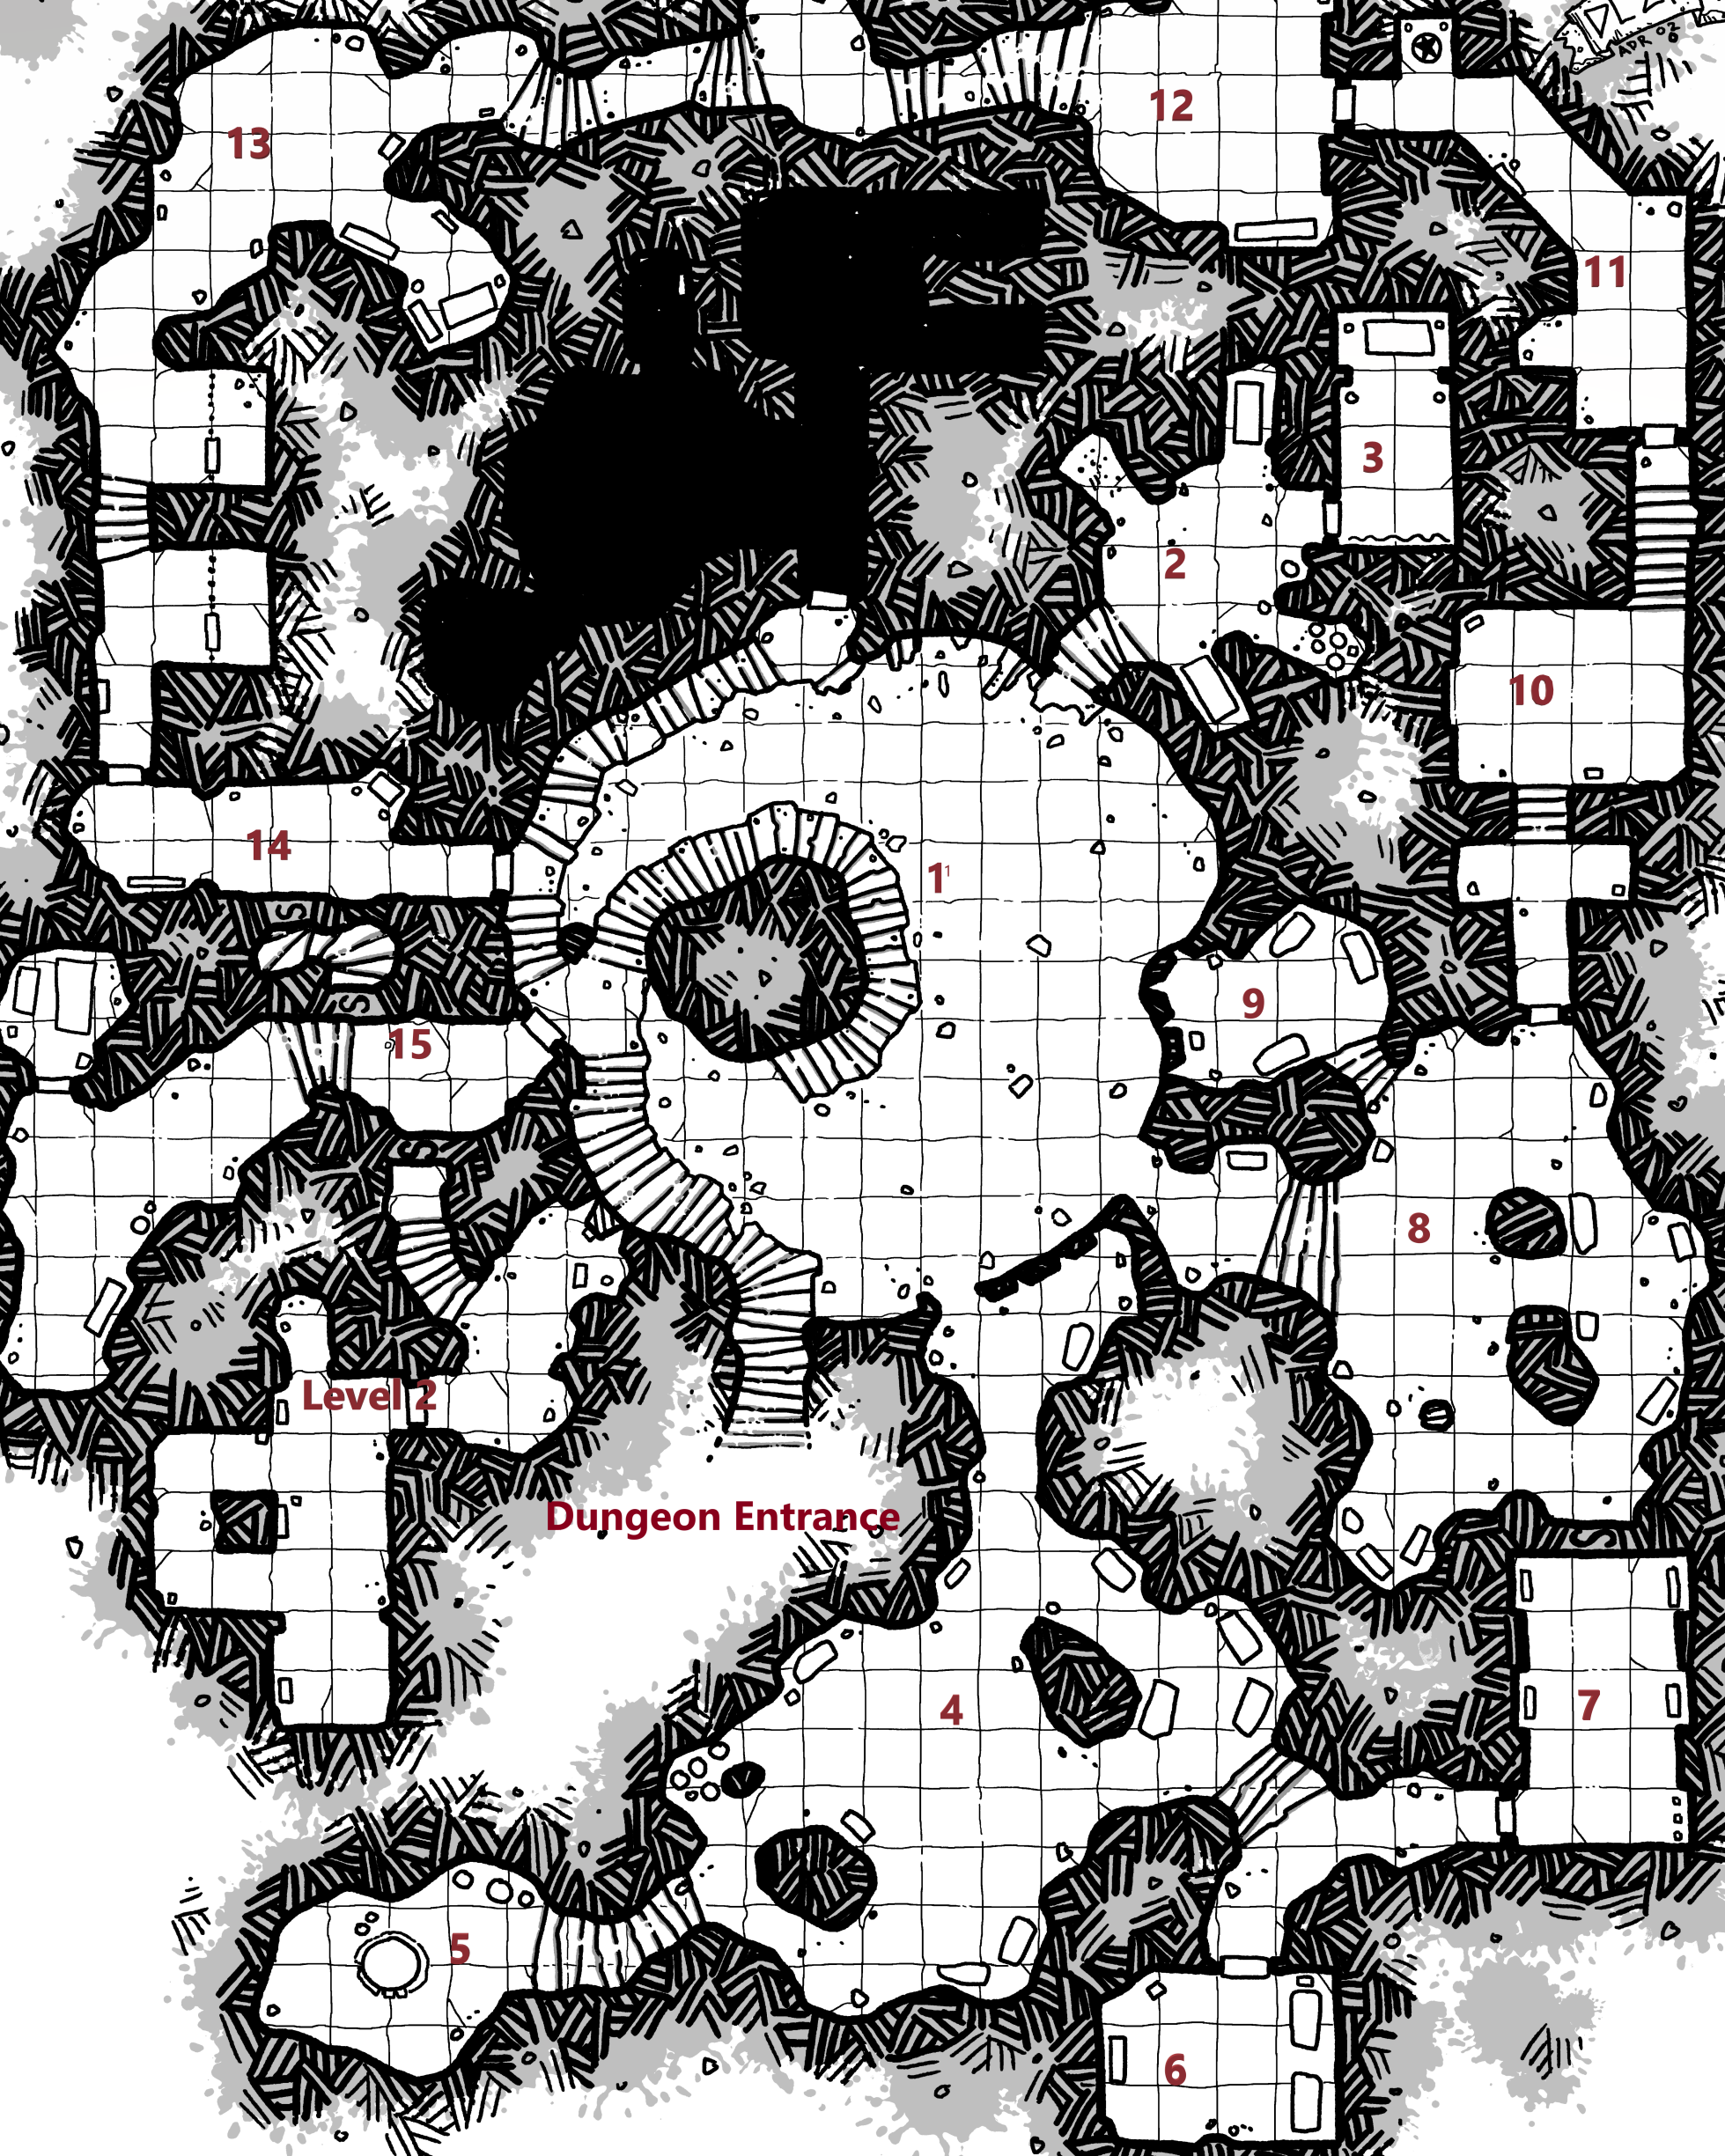
This level of the dungeon uses a Dyson Logos map, The Twilight Descent (use this link for a player version without area numbers).
This map provides several chambers for the PCs to explore while pursuing their adventure hook, which they will achieve on the second level.
This installment of the dungeon covers areas 8–11.
Area 8: Rest and Relaxation Lounge
| The expansive chamber offers a variety of plush couches, well-worn chairs, and an opportunity for soothing music with multiple instruments leaning against the far wall. Throughout the room, there are multiple places to rest and even sleep. |
This chamber is deviously designed to lull those who enter into a false sense of rest. It appears to have no enemies. Anyone who chooses to rest can do so, and everyone can spread out, as they wish. The pillars around the room have rucksacks and bags tossed at the bases.
If PCs search the bags, they find: two dungeoneer packs (complete), one priest pack (complete), and one burglar’s pack missing the ball bearings.
| Designer Insights: False Sense of Security One of the best deceptions in adventure writing is the illusion of safety. Nothing in a dungeon should be “safe” unless that’s clearly spelled out. Safety is suggested here, but not assured, which is suspicious in its own right. |
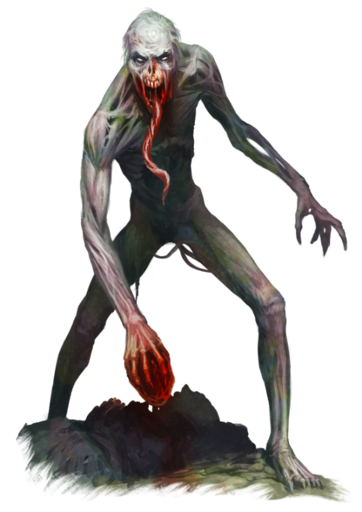
Area 9: Emergency Heart Surgery
| The air escaping this small chamber reeks of death and decay. From the entrance, the room is pitch black. A clinking sound echoes, as if a rain of coins falls in the darkness. |
This chamber houses dead bodies, stacked up behind pillars. A large number of coins falls continually from an elaborate pulley system against the far wall. Corpses neatly line the walls. Their jaws are broken, and their faces are covered in blood, regardless of decomposition level.
A gaunt one (see Tome of Beasts 2), an aberration that only looks undead, waits here for someone to pursue the sound of money. Because it has advantage on all Wisdom (Perception) checks that rely on hearing, it likely hears the PCs’ approach.
It waits between two pillars on the opposite side of the room, attacking the first PC who enters the chamber. If the gaunt one grapples a PC, its tentacle tongue infiltrates the victim’s mouth, using its Extract Heart ability. Due to its hunger, it doesn’t retreat or surrender. Its primary goal is to hunt until it harvests another heart.
The gaunt one collects gold coins and jewels from the dead and puts them in the pulley system to lure more victims into its lair. (The kobolds occasionally donate to the gaunt one to avoid its hunger.)
If anyone attempts to steal the coins and gems from the pulley system, they must succeed on a DC 14 Dexterity (Sleight of Hand) check or take 7 (2d6) bludgeoning damage. On a successful roll, the adventurer discovers 40 gp, 200 cp, and an assortment of gems worth 500 gp.
| Designer Insights: Monster Reciprocation Some monsters have natural allies within their lairs, working together or serving a mutual interest. Here, the kobolds welcome the gaunt one to maintain a residence within their dungeon because it eats bothersome adventurers. They use the gaunt one as a security force, but it does occasionally turn on them. A mutually beneficial scenario allows for creative monster combinations. |
Area 10: A Cuppa for Kobolds
| After a short set of steps, a room opens, filled with cups of what appears to be water. The floor is covered with vessels filled with liquid. There is no clear path. |
This room is filled, wall to wall, with cups, bowls, and vases. They are not all transparent or easily identifiable, especially further across the room. A shabbily constructed, unlit chandelier hangs from the ceiling.
The exit is diagonal from the entrance, and it is 15 feet away. The chandelier is halfway between them. It can hold up to 40 pounds. Anything heavier rips it out of the ceiling.
PCs can do a lot to interact with the contents of this room. If the PCs attempt to swing on the chandelier, thread the vessels carefully, inspect the contents of a vessel, clear a path, or interact with the vessels in some other way, use an appropriate ability check at DC 16. Spells might overcome the need for an ability check.
On a success, a PC can cross safely, clear a 5-foot square of space, or discern the contents of a vessel to be a combination of grease, oil, water, and urine.
On a failure, the result is often (at your discretion) that a PC crashes into the vessels or otherwise spills the contents of a vessel. If a character crashes, the slippery liquid coats the PC, giving them disadvantage on all Dexterity saving throws until they bathe again.
Additionally, if a PC’s action results in a spilled vessel, ask the player to roll d6. If the player rolls a 1, an ichor ooze (see Tome of Beasts 2) lashes out from a nearby bronze vase, immediately making a pseudopod attack. If it hits, it automatically grapples its target.
Furthermore, any crashing noise alerts guards in the next room. Two stryx (see Tome of Beasts) fly into the room and attack visible characters.
| Designer Insights: Danger Lurks Include opportunities for fantastic results. Here, the possibility of becoming grappled by the ooze is slim, but spectacular failures warrant spectacular results. |
Area 11: Stryx Watchers
| At the top of the narrow steps, a long hallway emerges. Its 20-foot ceiling vanishes into darkness. The hall curves to the left and toward the back, a narrow cut-out displays a statue of a stone stryx in flight. Liquids ooze from the walls. |
The liquids are trapped vapor harmlessly escaping through the mortar.
If the two stryx are still hidden, they wait in the shadows of the ceiling. They do not attack unless they are spotted with a successful DC 14 Wisdom (Perception) check.
If the stryx died in a previous encounter, this room contains no dangers. Behind the statue, more cups and other vessels are stacked against the wall. With a DC 12 Intelligence (Investigation) check, a PC searching the vessels finds a chipped porcelain mug with an overglaze of a skeleton key. This mug exudes a faint aura of evocation magic. It can open the locked door between Area 1 and Area 14.
| Designer Insights: Limit Danger Disasters Not every room needs to be a danger pit. Learn when to hold back and give the characters—and players—a break. |
Delving Deeper
In two weeks, we venture to the torpid throne in Areas 12–15.
If you’re looking for a notebook to jot down your Dungeon 23 ideas, check out the Kobold Press TeePublic page!